Xubuntu upgrade: from Heron to Ibex
Usually I install Xubuntu afresh when a new release arrives. This time along, though, I felt like upgrading from Xubuntu 8.04 to Xubuntu 8.10.
The first thing to consider is that Xubuntu 8.04 is a “Long Term Support” release, meaning that it’ll receive security updates for a longer period of time than normal releases. Thus, people using this version won’t need to upgrade Xubuntu every six months when a new version is released. The consequence is that you will not be notified of a new normal release when it arrives.
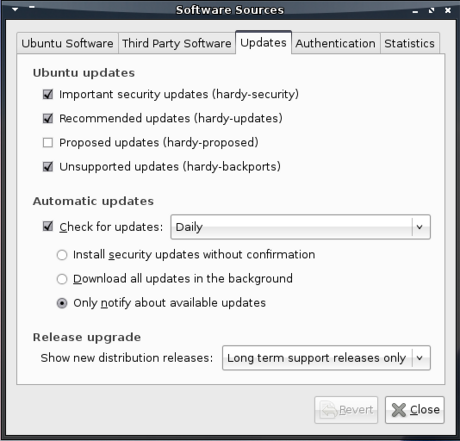
In order to be able to start the upgrade process, you’ll need to start the Software Sources application from Applications->System. In that application, under the Updates tab, you can select which new distribution releases you want to be notified of at the bottom. By default, this is set to Long term support releases only, but to upgrade to Xubuntu 8.10 you’ll want to set this to Normal releases.
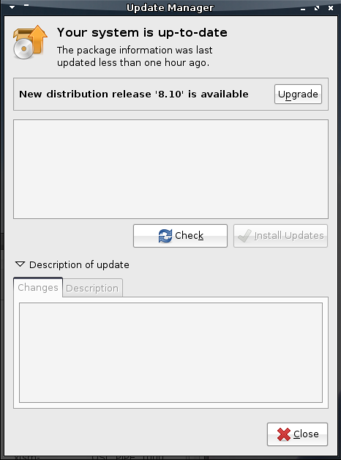
With that set, when you start the Update Manager (Applications->System), you will be notified that a new distribution release is available. To start the upgrade process, just click the Upgrade button on top.
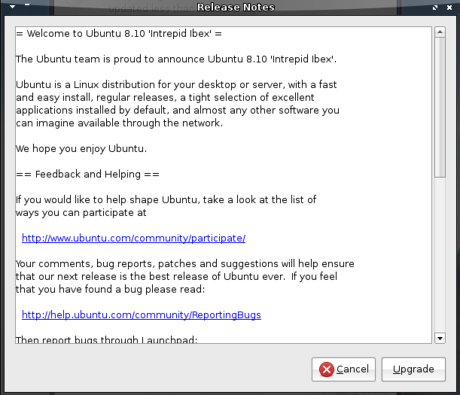
This will then pop up a screen containing the release notes of the new release, which unfortunately are Ubuntu-specific.
After confirming that you want to upgrade, Xubuntu will download an upgrade tool. It will start preparing the upgrade and will update your software sources to make sure you will be downloading software for the newer version. No need to worry though: if you press Cancel, the original configuration will be restored and any other edits the tool might have made will be reverted.
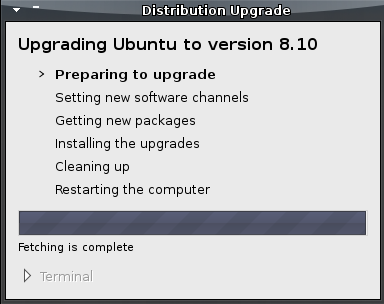

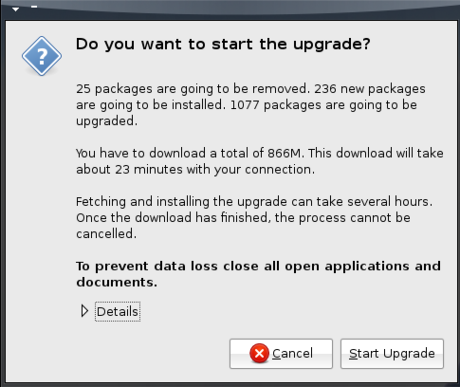
When information has been gathered about the upgrade, a new confirmation window will appear providing an overview of what is going to be done and giving you another chance to back off if you got scared. It also advises you to close all open applications to prevent loss of data – wise words indeed.
Of course, it is always recommended to make a backup of important documents and settings before you upgrade.
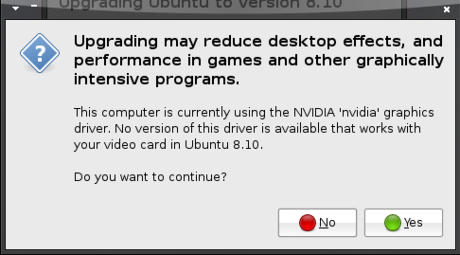
Before the upgrade could continue, a window popped up informing me that the (proprietary) driver for my graphics card was no longer available in the new version, giving me another chance to abort the upgrade. I opted to continue and take the risk of losing my shiny desktop effects (due to needing to use the open source driver), but was relieved to find that they still worked after the upgrade – I did not even need to redo the steps to install Compiz in Xubuntu. That said, this does not mean I recommend you to ignore the warning – I have too little knowledge of graphics cards and their drivers to be giving sensible advise on that.
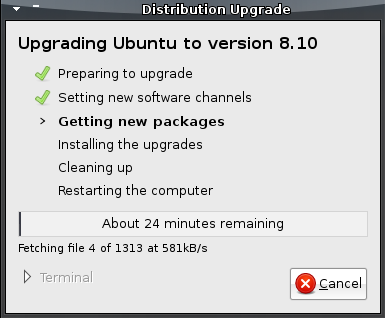
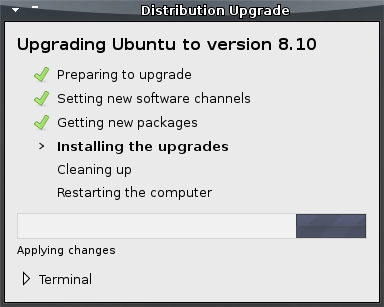
The upgrade tool will then start downloading the packages of the new version. This will take a while (essentially it’s downloading new versions of most of your applications in their entirety) – the final stage in which you will still have the option to cancel the upgrade. Isn’t that great? ![]()
With the packages downloaded, the tool will start installing them – from this point on there’s no going back!
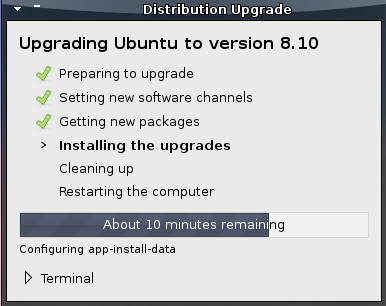
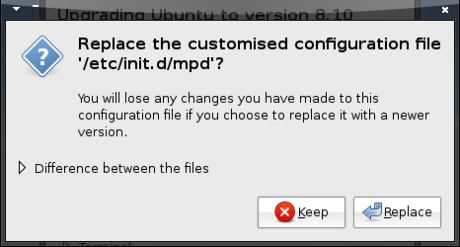
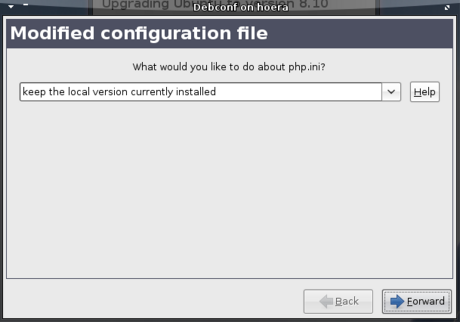
During the installation of the new packages, you might get some questions about newer configuration files overwriting older ones (I got most of these at the end of this process, so you can make yourself some coffee while it’s installing the bulk of new packages ![]() ). In most cases, you’ll probably want the new one unless you recognise the file and know that you need the alterations you made to that file. Going with the default options is often sensible as well.
). In most cases, you’ll probably want the new one unless you recognise the file and know that you need the alterations you made to that file. Going with the default options is often sensible as well.
When the new versions are installed, the upgrade tool will try to remove as much cruft as it can find.
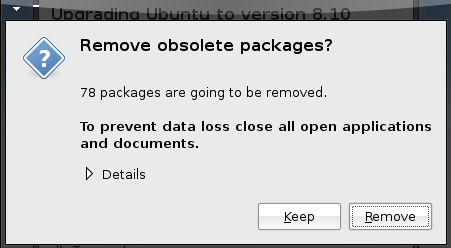
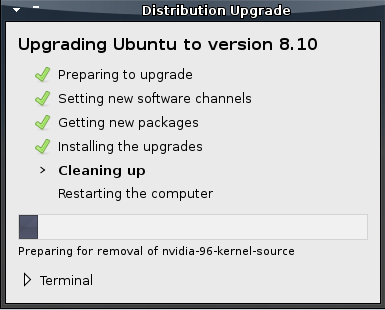
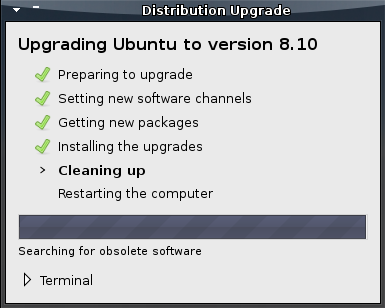
Finally, the upgrade process is almost complete – all it needs you to do to finish it off is to restart your computer and cross your fingers that the upgrade went smoothly and your system is still usable.

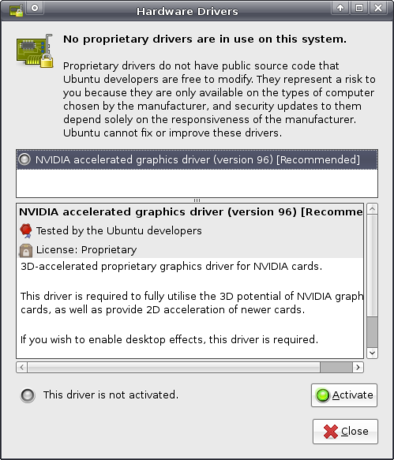
As said, I had been warned that the driver for my graphics card was no longer available, but luckily the Hardware Drivers application (Applications->System) pointed out that another proprietary driver was available that allowed me to enable Compiz again.
All in all, the upgrade was a generally a pleasing experience to me, and I hope and expect you will feel the same.


Sharing the love with BitTorrent
Xubuntu 8.04 is out! This release, along with those of Ubuntu, Kubuntu and whatnot, means that the Ubuntu servers are going to have a hard time with everybody and their stork downloading these new releases at the same time. Being the good open source citizen that you are, you are probably more than willing to take some of the load. Look no further, as BitTorrent is here to save the day!
In short, BitTorrent allows you to download files from other people, meanwhile sharing the parts you have already downloaded with other people who, just like you, are eager to try out the latest and greatest the open source community has to offer.
To download files using BitTorrent, you need a BitTorrent client. Since Xubuntu 8.04 includes Transmission, that is what we will be using. If you’re not using 8.04, make sure to install it.
The first thing we need, is a torrent file, a file with a name ending in .torrent that contains all the information Transmission needs to download the appropriate files. The Xubuntu 8.04 torrent can be downloaded from Ubuntu’s torrent website, where you can select the graphical Desktop CD (which is what most people want) or the text-based Alternate Install CD. We want the torrent files for Intel x86 architectures (most computers) or for AMD64 architectures (you’d probably know if you need this, using 64 Bit). A torrent file is not that big, so it should not take too long to download and does not place much of a burden on the servers.
After having downloaded the file to wherever you like, open up Transmission from Applications->Network->Transmission.
When newly installed, Transmission will download all files into the same directory as the torrent file. Instead of adapting to software (by remembering where it downloads files to), I make software adapt to me, so when I open a torrent file with Transmission, I want it to ask me where I want the files to be downloaded to.
Luckily, this is easy: simply open File->Preferences. While the preferences window is filled with cryptic terminology, the option I’m looking for is quickly found: all I need to do, is check the checkbox in front of Always prompt for download directory.
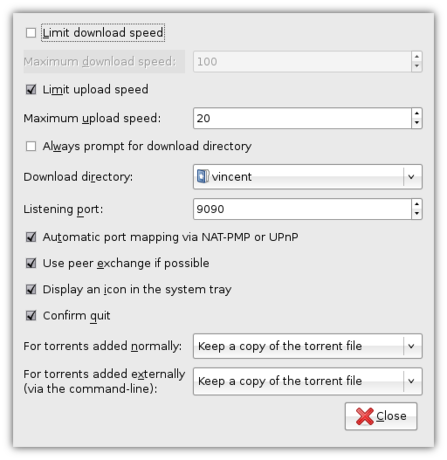
You can configure a whole host of additional options in the prefences window, such as the maximum download and upload speed. Be aware, though, that if you lower the maximum upload speed (i.e. the speed with which you are sharing the files with other people), the download speed will also decrease, so as to encourage everybody to share as much as they can.
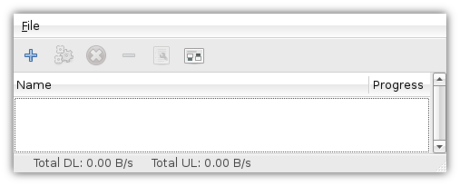
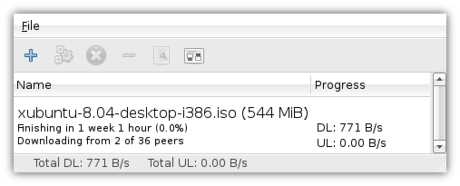
When you’re done configuring Transmission, click Close in the Prefences window – it’s time to start downloading! Click File->Add and locate the torrent file you downloaded earlier. After you’ve opened the file and selected a target folder, Transmission will start downloading. While it will still be a long wait (the Xubuntu ISO image is a whopping 544 MB), if a lot of people are sharing the love then it’ll be faster than a direct download, and you’re helping other users at the same time.
Once you’re done downloading, you’ll want to verify that the file you downloaded is the correct one. After you’ve done that, the big moment is there: you can install Xubuntu!
Don’t close Transmission though! If you leave the window open after your download has completed, Transmission will continue sharing the downloaded file with other users – this is called seeding and is a good habit if you want to be a Nice Guy. You can also resume seeding after you’ve closed a torrent – simply re-open the torrent file and select the same download location.
All in all, while often associated with illegal downloading, there are plently of legit situations in which BitTorrent saves the day. Now spread the love!


