Ubuntu from your flash drive – easier than ever before
As you have probably noticed, new versions have arrived of Ubuntu, Xubuntu and other derivatives. One of the most exciting new features has received far less publicity than it deserves – the ability to “install” it onto your USB flash drive with just a few clicks.
The advantages are obvious: just plug your flash drive into a computer and run your favourite operating system. What’s more, everything you do — installing applications, saving documents, editing preferences — will be saved to your flash drive and will be available to you every time you run it!
The best news is that it’s astoundingly easy: all it takes is a few clicks.
Of course, there are a few requirements. First, you can only run it on computers that support booting from a USB flash drive – this is the case for most computers nowadays. Secondly, you must have a CD or a CD image. The latter can be downloaded free of charge – I, obviously, downloaded Xubuntu. Third, you’ll need to install usb-creator, the new application that is readily available in version 8.10 but which you can also download and install on version 8.04 (with Windows and Qt versions planned). And, last but not least, you’ll obviously need to have a USB flash drive.
Once installed, you can find it in your menu as Create a USB startup disk (on Xubuntu it is located under Applications->System, in Ubuntu this would be System->Administration, IIRC).
The first thing you’ll need to do is to insert the flash drive you’re planning to use. Usb-creator will then detect the drive – if multiple flash drives are inserted, you can pick from a list which one you want to use, and if the drive isn’t formatted yet usb-creator will give you the option to do so (note that this will destroy all files on it!).
The next step is inserting the appropriate CD into your CD drive, or loading the CD image you downloaded before by clicking Other….
Finally, you’ll need to configure whether you want all your documents, settings and applications to be discarded on shutdown (i.e. act as a regular LiveCD) or if you want to save them to your flash drive (this is called persistency, or persistent mode). If you pick the latter, you’ll also be able to select how much space you want to reserve for this.
Do note that usb-creator will not overwrite existing files on the drive – thus, if you want to use your entire drive, you’ll first have to delete all existing files.
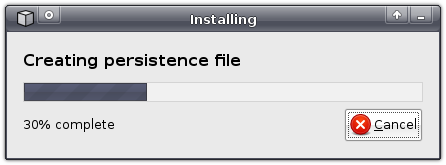
Now, with everything configured, click Make Startup Disk, and sit back and relax while usb-creator prepares your flash drive.
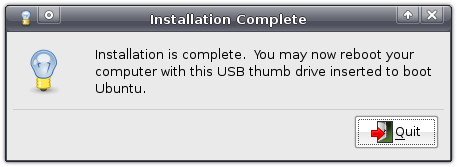
You can do something entirely different now, like reading the rest of this blog, viewing all my screenshots of usb-creator, whatever you like. Once usb-creator is finished, it will notify you that it’s done. All that’s left now is to boot your computer from your flash drive and have fun ![]()
Troubleshooting
If persistency does not work, you might need to edit the file text.cfg in the syslinux folder on your flash drive. Just replace the line default livewith the following lines, adding a new Start Xubuntu option to the boot screen the next time you boot. Note that you might want to replace occurences of “Xubuntu” with the name of the distro you’re using. This has been tested with Xubuntu 8.10;
default persistent

label persistent

  menu label ^Start Xubuntu

  kernel /casper/vmlinuz

  append  file=/cdrom/preseed/xubuntu.seed boot=casper initrd=/casper/initrd.gz quiet splash persistent
--


